Week 3: Computer Controlled Cutting
Wednesday 10/02/16 The lecture was quite interesting and I could closely follow what Neil was saying. The fact that I have some experience was very helpful. What surprised me a lot, however, was the limitation that we had to design parametrically. From a teacher′s point of view, I can understand wanting to improve an existing exercise and the limitation was definitely going to teach us something useful, but for the whole previous week I was not practicing this at all. I had limited knowledge of design programs and up to that point I thought that Rhino was not capable of parametric design.
Thursday 11/02/16 Cecilia showed us the operation of the laser cutter. Although it is not my first encounter with such a big machine, I have to admit that the capabilities of the ‘BRM Laser’ surprised me. Operations which I thought were close to impossible with the laser that we have at school, seemed to be a piece of cake for the particular laser cutter. I even suspect that the machine itself cost less than half the money! It can even engrave on drinking glasses!
I was also officially totally puzzled about how I would go about designing parametrically. I had already rejected ‘InkScape’ because it seemed to not operate well on my computer and I did not want to abandon Rhino. The problem became bigger as I was told that the ‘Grasshopper’ extension on mac was not officially released and it was unstable… I proceeded with downloading it anyway and I started watching some tutorials in the hope that it would get me as far as the press fit construction deliverable.
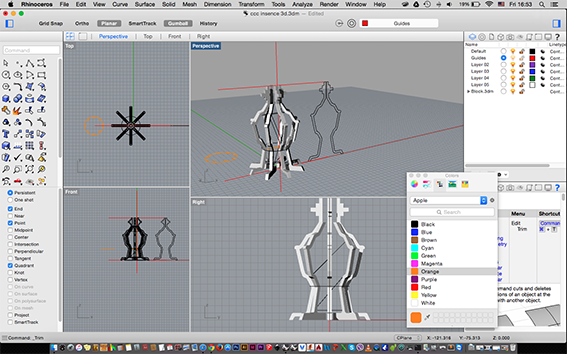
Friday 12/02/16 Thankfully Saverio Silli sent us a small tutorial on how to do simple parametric designs in Rhino and I realized that I was not the only one having the problem I described above. I really began to appreciate and benefit from the Fab global community! Since my panic was settled and I thought that I knew how to design the project, I took my time exploring ideas of what to make. I modelled how I thought an incense burner would look if it was made of cardboard, just to give myself a chance to visualize it and I even played around with ‘123D Design’ by Autodesk.
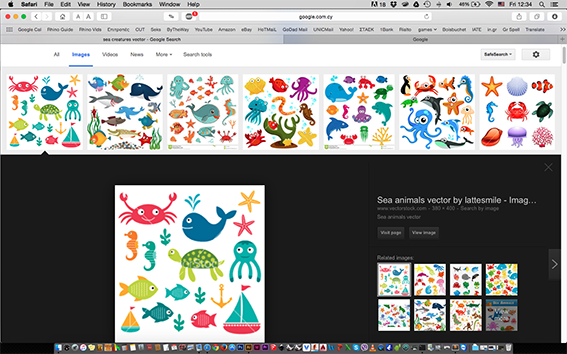
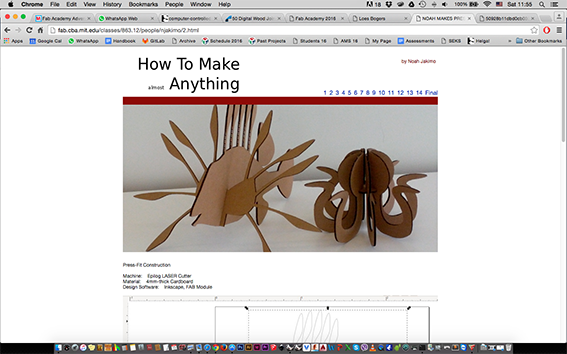
I was at the same time flirting with the idea of making creatures like what Loes Bogers made last year. I turned to customizable sea creatures based on an exercise I give to my students which is to design their own version of a fish (S. Mumaw, W.L. Oldfield, Caffeine for the Creative Mind, How Books, 2006). I made some sketches and started thinking of joints but soon after I realized that a student of Neil had already made something like this for a past project. I proceeded to play with 3mm foam board in order to come up with a solid concept.
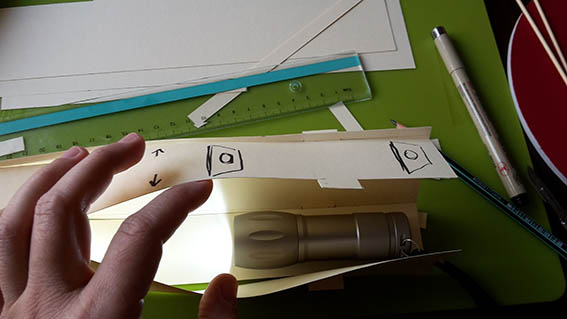
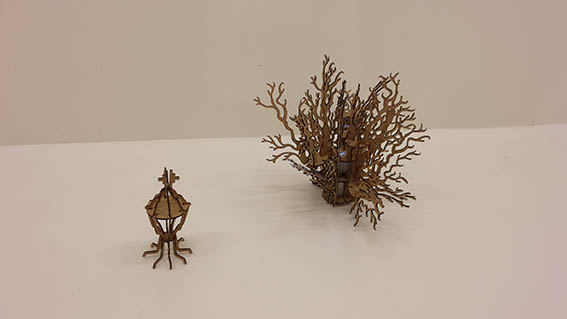
On Saturday 13/02/16 I spent the day experimenting with ideas and shapes mostly through making a cardboard light using a bicycle light... I am in Amsterdam, after all!
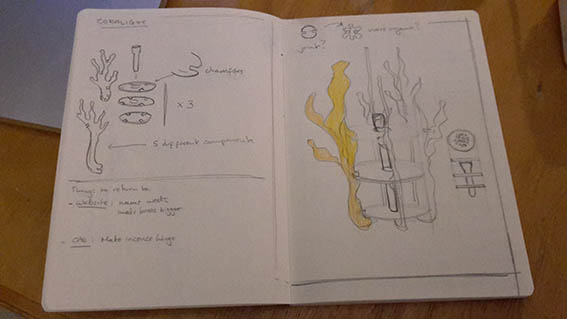
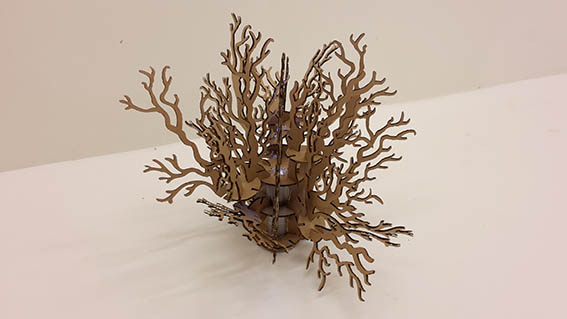
As ideas do, the image of a cardboard coral-light landed in my head probably from looking at all those sea-life images.
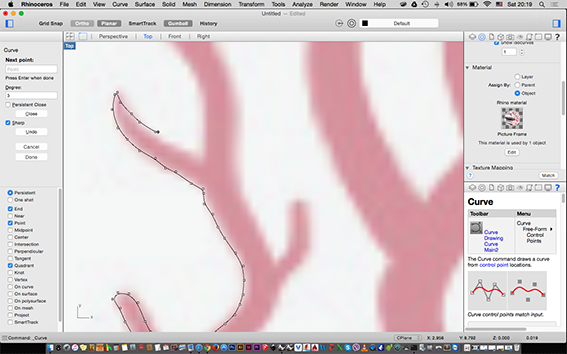
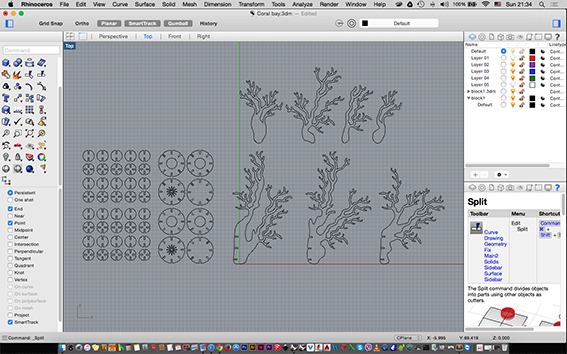
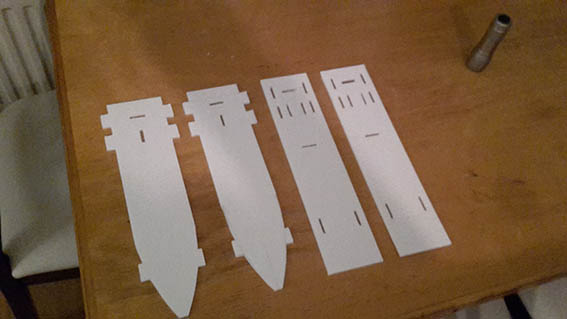
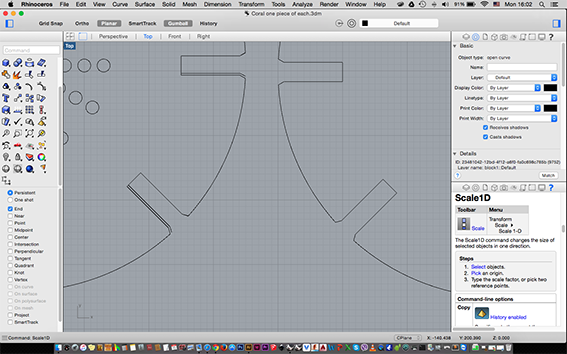
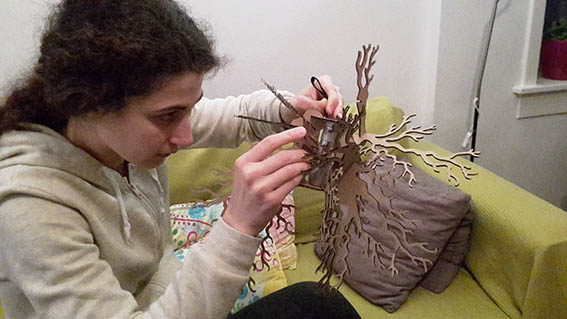
Sunday 14/02/16 I researched and downloaded images of coral shapes, which I thought were suitable for my construction and I traced around some of them in order to have a basis. While I would normally do this in Illustrator, I used Rhino not only because of the parametric limitation but also in order to get to know the program better. I must admit that I am getting much more comfortable with it. Once I had the shapes that I wanted, I carefully watched Saverio′s tutorial once again and I designed the joints as ‘linked blocks’ in my drawing. I saved several instances of the drawing as I prepared for Monday′s laser cutter appointment.
On Monday 15/02/16 I headed down to the Fab Lab as early as I could, in the hope that I would see some of my colleagues and exchange tips on how to cut and operate the machine. Soon I began to realize that the measurements for my joints were wrong. I was really quite disappointed with myself because as a craftswoman I should have made them smaller than 3mm. That was the exact thickness of the cardboard so it only makes sense that they would be too loose. But I felt confident about my parametric designing! I was going to change them in no time and I would get to re-cut quite fast… If only that were true.
As it turns out the tutorial showed us how to make joints adjacent to straight lines and I did not have any straight lines. On top of that a lot of the joints on the actual coral shapes were specific to the shape, so when I changed the thickness of my joints nothing fit any more… I had to revisit every single joint and re-model it. I have definitely learnt how parametric design DOES NOT work. The good news was that I managed to fix my drawing on time and was able to have another session on the laser cutter. The bad news is that the chamfers I drew were too small and don't make much difference on the final cardboard joints.

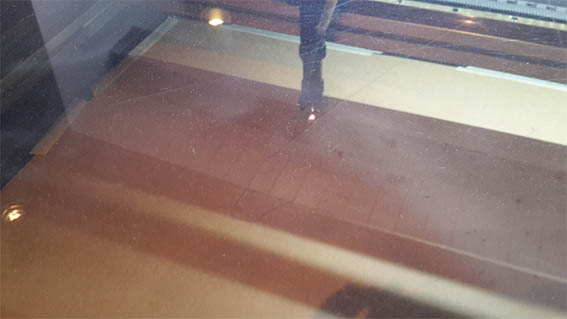
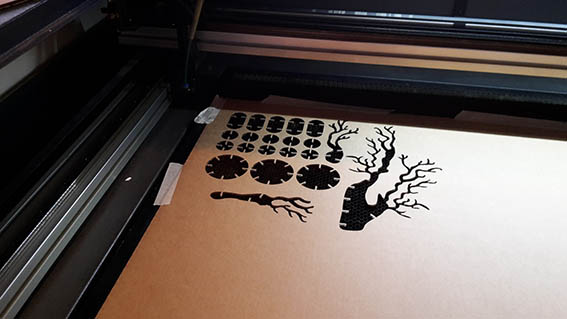
Regarding the actual operation of the laser cutter, I was quite lucky that the settings worked out from first time. I opened the dxf document on the computer and selected the entire drawing, then asking it to ‘unite lines’. Although I was advised to do that, it was an operation that took a very long time. I probably waited for it to do that for more than 15 minutes because of the complicated lines that my drawing had in the first place.
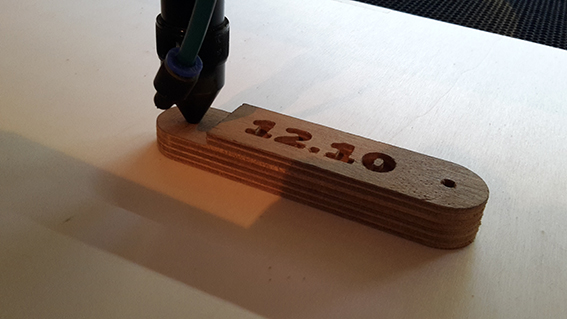
I then taped down the cardboard and adjusted the height of the laser head using the wooden jig provided. I made sure that the two power switches, laser head switch and exctraction were on and I set the anchor point from where the cut would need to start. I then set the cutting speed to 200 and the power to 50 to make a through cut and the speed to 400, power 15 for engraving. Most of the pieces came out fine, but for some small areas it didn't cut all the way through and I had to remove them using my scalpel. I am not too sure as to why that happened. I know that other people had similar problems with cutting all the way through, but that was happening on the entire piece of cardboard not just on a small area, so the only reason that I can think of is that maybe I had not taped the cardboard on the laserbed evenly on all sides.
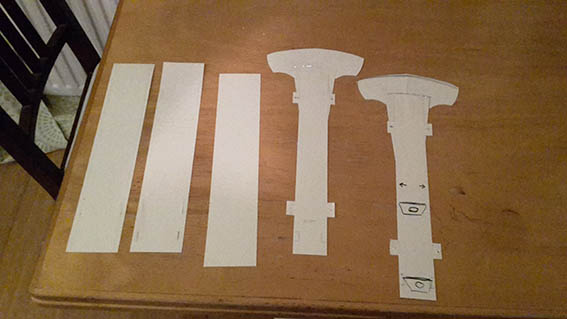
I made three laser sessions and I always did a test before cutting to make sure that the machine would start cutting from where I wanted it to. During the last cut I had to change the settings so it would start to cut inwards instead from the top left corner where the usual starting point is. That was to make sure that I was taking full advantage of the leftover piece of cardboard.
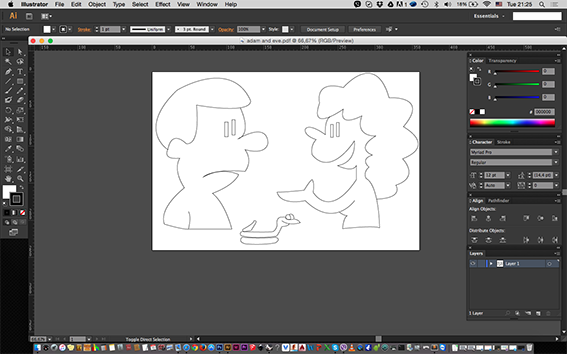
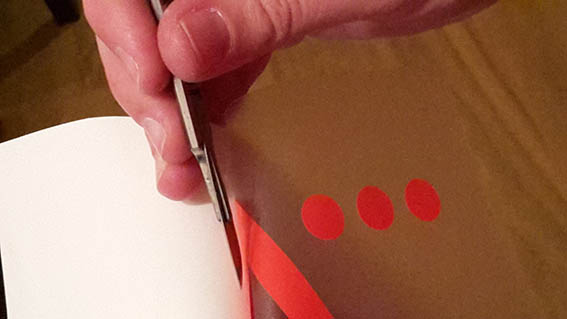
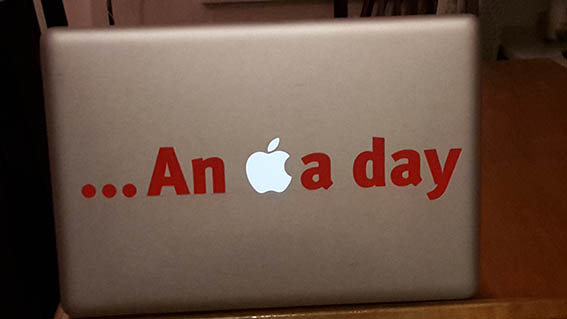
I also had time for some brainstorming/designing regarding the sticker and a fast pace lesson on the vinyl cutter. I knew that I should turn the text into outlines and then open it in Illustrator. I feeded the vinyl from the back of the machine and I used the arrows to set the origin of where I wanted it to start. I also ran a test cut to make sure that the small knife was at the correct height and that it would be cutting clearly. I used 20cm/s speed and 80gf force and I applied it onto my computer using transfer tape and carefully peeling off the back of the sticker.
I tried an ‘Adam and Eve’ theme to be placed on my mac as well as a catchphrase. I went with the ‘An apple a day’ phrase and I hope that I will find time to play with more colors in order to produce the ‘Adam and Eve’ version. The dimensions on the document are correct, but it turned out a lot bigger that I expected. I can only assume that the size changed when I opened it on the lab's computer.
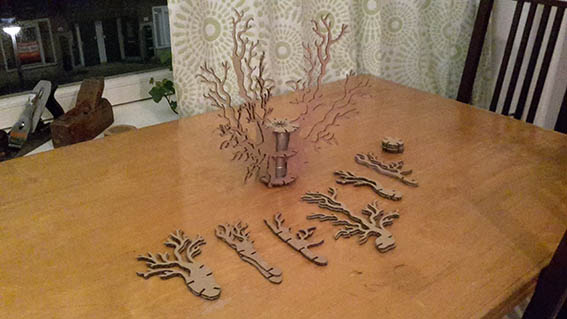
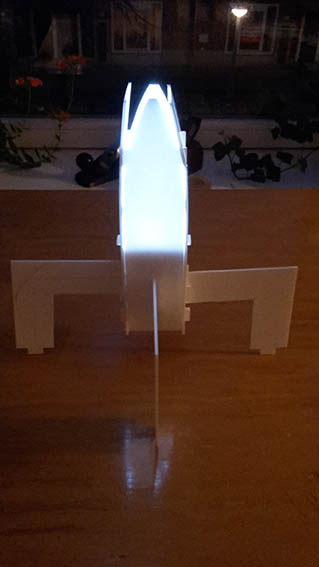
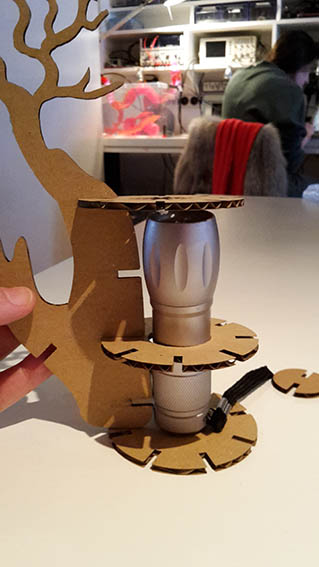
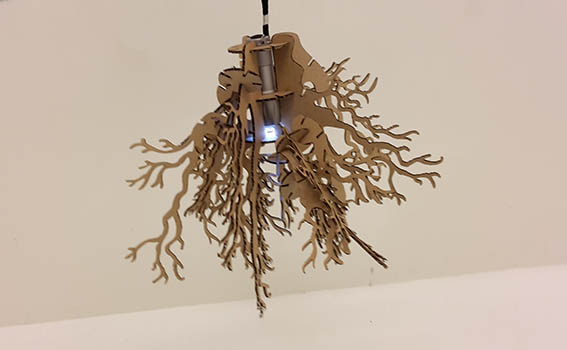
Tuesday 16/02/16 My friends had a good time putting the Coral Light together and I am happy with the end result, since it can be placed on a table or hang from the ceiling utilizing a simple bicycle torch. I decided to cut some more pieces in order to give the user more options and I thought that it would be a good idea to cut more of the larger elements, so I did. Only to realise that they could not be used in the way that I intended because I drew their joints closer to each other. History repeats itself. My calculations seem to always end up wrong and I always re-confirm the need to plan ahead!
Upon reflection, maybe I should have come up with a simpler construction, which would allow me to draw parametrically. I know that I would definitely like to have more time experimenting with the power and speed of the laser. I really enjoyed the buzz and creativity of this week, I learned the basics of operating the laser and I got several good tips from people around me. I appreciated the software that comes with it because it has some basic editing capabilities. I would certainly welcome the chance to cut once again. What really suprised me though, was that the machine has no ‘endstops’ and the laserhead can hit the machine′s own sides really, really hard!!
And a final thought… A colleague once told me that the mentality of the student is always the same no matter how old they are… I am now realizing that it's true. In my new student position I find myself acting like the people I usually have in front of me in class… I am making ‘selfish’ decisions and I am wasting material… I should have placed my vectors more wisely on the board, although I was at the same time thinking of how I would take the delicate pieces out, after the cut.
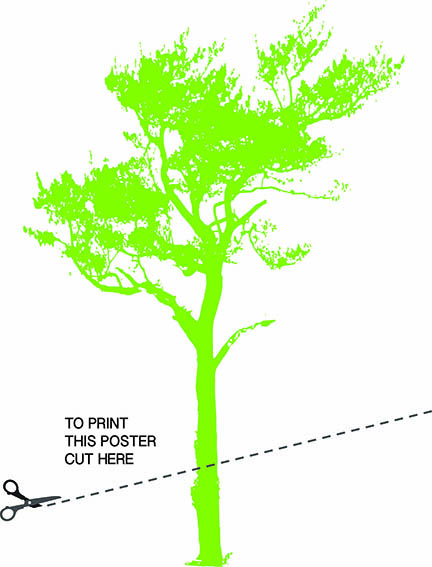
So I am closing this week with a poster I designed last year:
Coral Light - File An Apple a Day Sticker - File Computer-Controlled Cutting Lecture Back to Weekly Assignments Home